Painting Rocks and Making Memories
Share
As I was preparing a rock painting activity for a workshop, I was reminded of a memory from years ago (I won't tell you how many….but it's a lot).
When I was a kid, we spent many weekends at my uncle's property on Mille Lacs Lake. We were so fortunate to be included in the invite list and had so many great adventures. I'll save the ice fishing stories for another post and share a summer memory today.
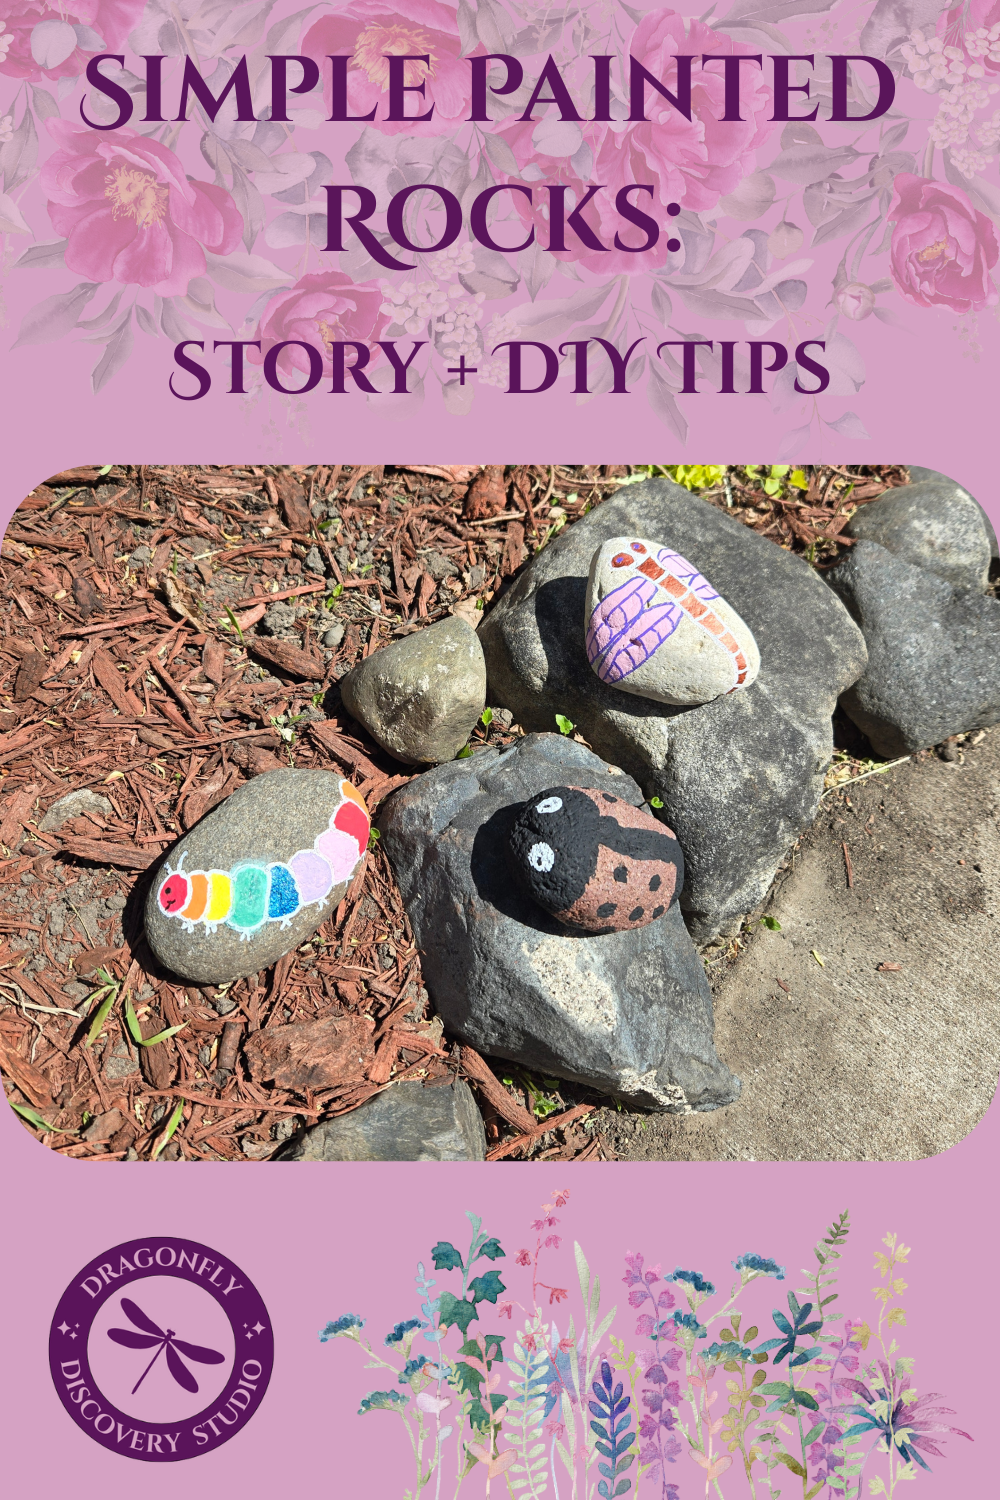
One weekend (and then many weekends thereafter) my Aunt Laura had the idea to bring up some craft paint and brushes. We walked around with our buckets collecting just the right rocks and then used the supplies to turn them into ladybugs, turtle shells, beetles, strawberries, and footprints. We didn’t know it at the time, but our masterpieces made us early adopters of a trend that wouldn’t hit the mainstream until over a decade later. Kindness Rocks didn’t become a thing until 2015—so clearly, we were just ahead of our time.
Once they were complete, we turned this into an entrepreneurial adventure and started selling them to our lake neighbors. We had a roadside stand and went door to door selling our art.
It's so fun how a few basic supplies can turn into something so fun. I'm loving that I get a chance to share this with my workshop group and with all of you!
A few tips and supplies list if you need it:
- Rocks-I got rocks from my local garden center. I likely could have ordered them or picked them from rock piles up north but would have required advance planning.
- Paint-acrylic paint works best. I linked a multipack but you could really get into color theory and just get red, yellow, blue, black, & white and mix them for the full spectrum. I also love acrylic paint pens for details and outlines. Not necessary, but definitely nice to have. Even just black and white for that will help. The outlines seem to give it a really finished look.
- Brushes-a variety of sizes is definitely helpful. I like the bigger brushes if you are going to do a full base color first. Smaller brushes for details! I also really liked working with silicone brushes for mixing colors and scraping unused paint back into the bottles.
- Paint tray- you could certainly get a formal paint tray with wells for the colors and a space to mix, but the lid of an ice cream bucket/food container or plate works just as well!
- Sealant: I just grabbed some Rust-oleum Clear Enamel to spray them. I went for a Matte this time to make them look a little more earthy, but I’ve seen some amazing glossy finishes as well.
I’ve got a list of simple supplies I’d recommend right here: https://amzn.to/42TKmNq (this is an affiliate link to my Amazon storefront, which means I may earn a small commission if you decide to purchase—at no extra cost to you).
2 comments
Thank you so much for mentioning me.
I love you!
Thank you so much for mentioning me.
I love you!